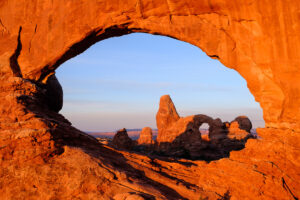
I’ve been asked how to take colorful landscape photographs a couple of different times, and ended up writing an answer on Quora and republishing it here. It’s always best to get the shot right in the camera versus focusing on post-processing. While I always shoot RAW as that gives me the most leeway to fix anything later and add artistic effects, it’s a bad habit to rely on later RAW processing to fix things you can get right in the camera.
The good news? There are two common reasons for washed out, low contrast images, and only one extra trick that’s worth knowing to get vivid, colorful photographs.
1. Exposing for colorful photos
Exposure is the most common error, so I will cover that first. We need to expose for the mid-tones of the image to get saturated colors. Highlights and anything at the right of the luminance histogram tend to white. The more over-exposed your image, the lighter the colors and the more washed out it looks. For example:

This landscape is properly exposed per the camera, but looks washed out. The histogram shows that the pixels are bunched up to the right, with lots of high RGB-value pixels:
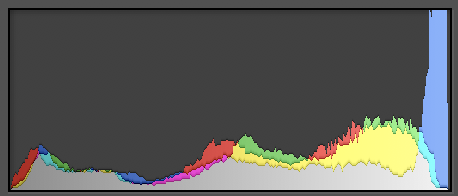
High RGB-value pixels are basically shades of white, the opposite of saturated colors, so the histogram shows that the image is washed out because it is mostly composed of white-ish pixels. We can reduce the exposure value (EV) to fix this at capture: the simplest way is to use the exposure compensation dial, but a reduction of ISO, shutter and/or aperture will work too.
Here’s that same scene about -2 EV from the previous image:
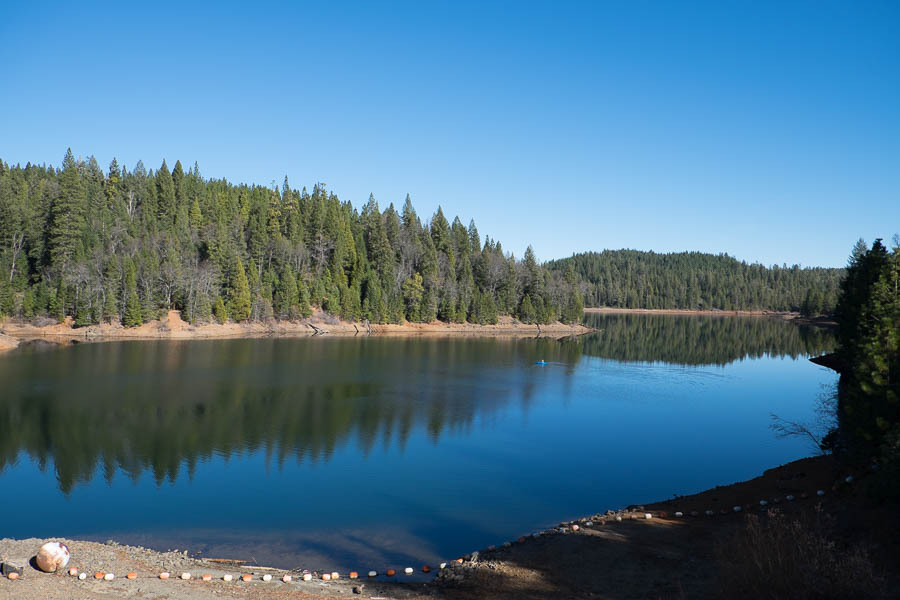
And here’s the histogram with the actual exposure values for this image:

Now you can see that there is a little clipping in the blacks (that’s what the red triangle at the top-left indicates) and we have also have no pixels at all with high luminance (the gap between the blue pixel “mountain peak” and the right-hand edge of the histogram shows this). Technically, this picture is not exposed correctly — some detail is being lost in the darkest shadows, and we’re not using the full range of the sensor. But that’s why photographers make exposure decisions, not cameras. The second image conveys the saturated colors of the lake and the trees, and we don’t care about the lost shadow detail in the lakeside on the right.
Now that we understand where saturated colors come from, we can understand why we’d use other exposure-reducing techniques like filters (see below). But first…
2. Bad light
The second most important reason for lack of saturation is taking a photo in bad light. Typically the worst light is at noon, because illuminated surfaces are going to tend to white as they’re getting a lot of light from the fiery orb in the sky. If you compensate for this in exposure, the shadows will simply be black because the camera sensor cannot capture the enormous light difference between the two. So, take the photo when the light is softer and the dynamic range can be captured by the camera.
The photographer Syl Arena (https://sylarena.com/) summarizes this well: “If you want to create interesting light, you have to create interesting shadows.”
This is why landscape photographers scout the location to understand where the sun will be and what path it will take, and have smartphone apps that tell them sunrise and sunset at that location. Get up early for soft morning light, know when the “golden hour” is when the setting sun washes the scene with warm light, and learn how to use the “blue hour” after the sun has set.
Sunset:

Early morning:
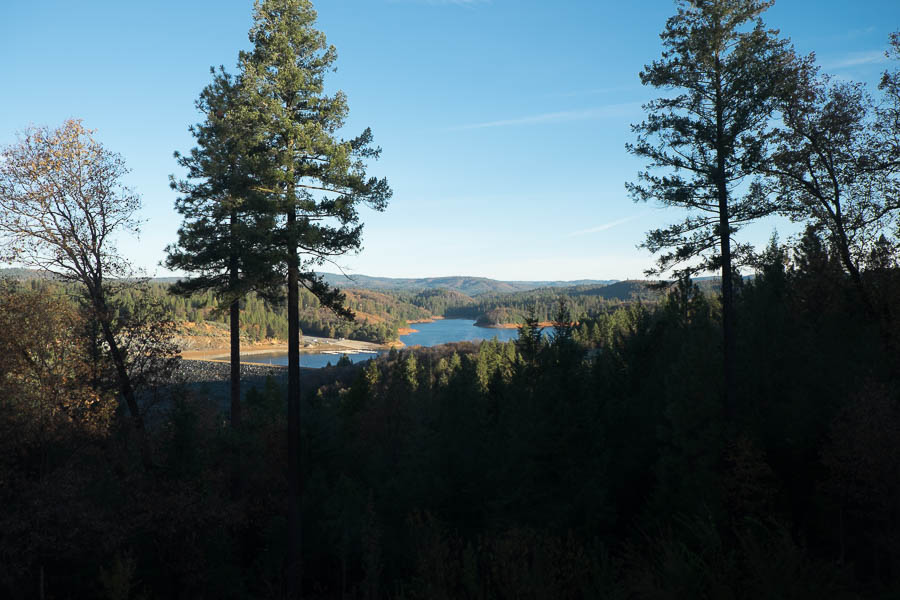
Notice the very different moods of the same scene captured at different times of the day. Think about the emotion you want to evoke.
And this is just ambient light. There’s also a whole world of lighting for photography using strobes (flash) and, increasingly, continuous lights that can help you create interesting light and interesting shadows.
If we can get good exposure and good light, then we are 90% of the way there, and can now look at getting the last 10% of saturation and contrast possible at capture.
3. Filters
All landscape photographers have at least one polarizing filter. It cuts out reflected light, which has the effect of cutting haze in a landscape image and really making clouds “pop”. Reducing reflected light also increases contrast and saturation. All modern cameras use circular polarizing filters. You should get one for each of your landscape lenses.
Note that the effect of a polarizing filter is one thing that cannot be fixed later in RAW processing. I know, I know, there are “haze cutter” presets/actions for Lightroom and Photoshop but they basically work by fiddling with the local contrast in an image. The polarizing filter globally screens out light you don’t want in your image, and that isn’t possible to take out in post.
You can also buy “graduated neutral density” filters. You can use these to selectively reduce exposure for situations where a standard exposure would blow out some portion of the image — the sky for example — while the rest of the image (and those mid-tones) is properly exposed. Neutral density (ND) filters are basically translucent gray glass or plastic. They simply block some amount of the light passing through them. Graduated neutral density filters are clear on one edge and gray on the other, with a change in opacity of the filter.

These are examples of fairly sharp changes, but you can also buy filters with a more gradual transition from grey to clear. Using a filter holder mounted on the end of your lens, you can position the clear part of the filter on the part of the image that you’re exposing for, and use the grey part on the sky or whatever needs to come down in exposure.
You can get a very similar effect as a graduated ND filter in RAW processing. Basically it’s an exposure gradient applied to the image. It isn’t as good as doing it at the time you take the shot, because it is limited to the exposure leeway of the RAW file (typically 2.5 EV) and it introduces more noise into the image.
Here’s an example of using a graduated ND filter. Without the filter, the sky is pretty boring while the chapel and graveyard are well exposed:
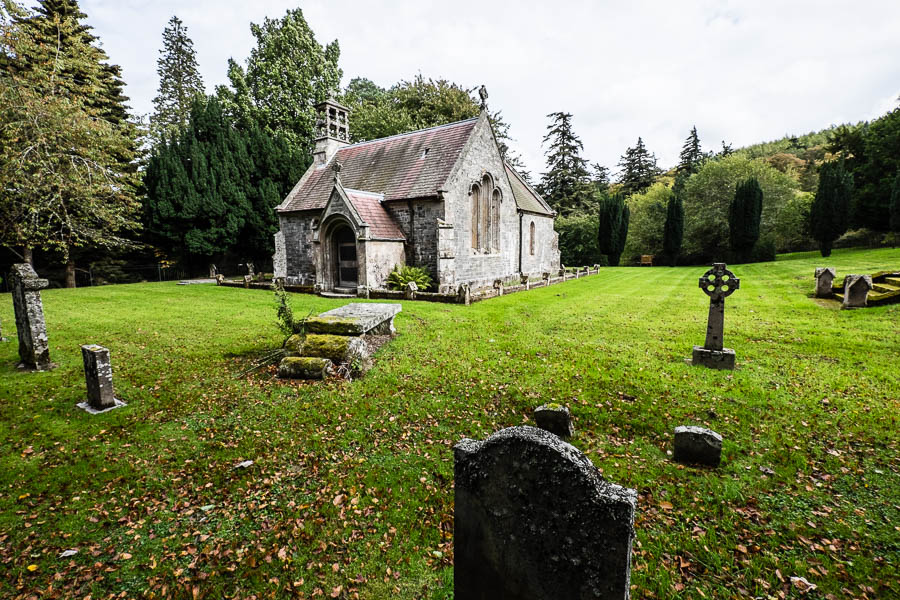
And after, the graduated ND filter reduces the sky exposure revealing some interesting clouds and saturated blue sky. It’s also giving us more saturation in the red color of the chapel roof line:

Both of these were taken with a polarizing filter, which is why the cloud texture is so visible in the sky, and it helps increase the overall contrast of the image.

